Base building basics
General advice for laying out a Palworld base — none of this is specific to the planner itself, it's just what tends to go wrong (or go right) once you're actually placing foundations in-game.
Start with the Palbox
Everything you build only counts as "your base" inside the Palbox's range ring — architecture outside it still stands, but it slowly degrades, and Pal stations (workbenches, factories) placed outside it can't be used at all. Decide where the Palbox goes first, and build outward from it, rather than laying out a base and discovering afterward that half of it sits outside the ring.
In practice that means foundations first, Palbox second: lay a 3×3 grid of foundations, then place the Palbox centered on the middle one. On PC, hold Alt or Ctrl while placing it to get exact, centered placement instead of whatever the default grid snap gives you. Console has a similar precision/free-placement toggle, but we don't have a confirmed button for it yet — check your own control settings for a snap/fine-tune toggle if the default placement won't center it.
Foundations before walls
Almost everything wants a foundation underneath it to sit on cleanly — Pals will path oddly and structures snap less predictably on bare ground. Lay out your full foundation footprint first, floor by floor, before you start on walls and roofing. It's much cheaper to change a foundation layout than to tear down finished walls to fix it.
Leave room for defense
This one only matters if raids are actually on — they're a world setting, and plenty of people turn them off. If yours are enabled: raids come from a direction, and turrets/walls need line of sight and space to actually do their job. A base that's one solid undifferentiated block of walls tends to funnel raiders straight to your weakest point. Leave a clear perimeter, put defensive structures (turrets, spike traps, pitfalls) where they can actually cover the approach, and avoid boxing your own Pals in somewhere they can't reach the fight.
Grouping stations by workflow is nice, not necessary
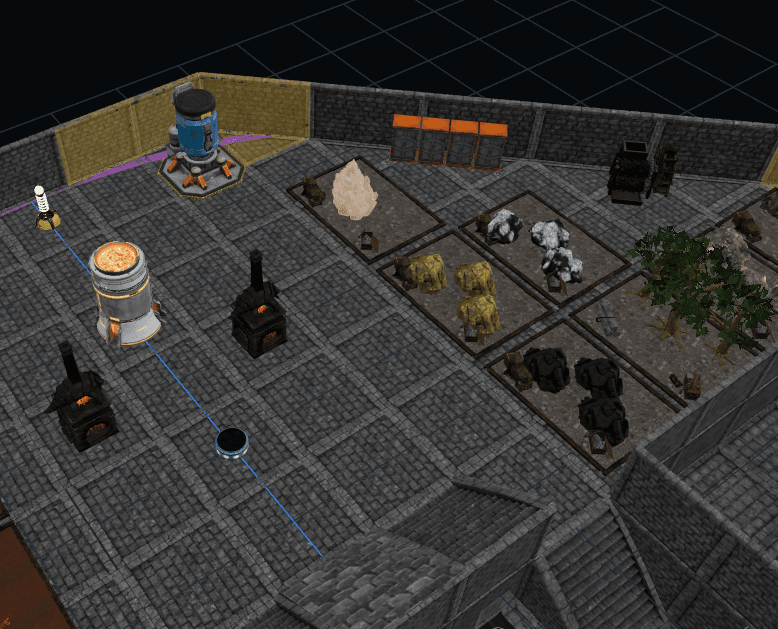
Crafting stations can pull ingredients from any storage chest connected to your base, not just a nearby one — so arranging stations by production chain (ore near the smelter, the smelter near the workbench) is a tidy layout choice, not something that actually saves you walking. What does matter is storage near the stations themselves: Pals doing the transporting work still have to physically carry items to and from a chest, so a chest sitting far from the stations it serves means your Pals spend more of their time walking and less of it working.
Stack floors deliberately, not by accident
Multiple floors are a great way to keep a base's footprint small, but stairs and open floor gaps eat into usable space on every level they pass through. Decide where vertical circulation goes before you fill in a floor around it, rather than fitting stairs in wherever there's a gap left over.
Common mistakes worth avoiding
- Building the whole base before placing the Palbox, then finding key stations sit outside its range.
- No clear path for raiders to be funneled into your defenses — they'll find the gap.
- Storage far from the stations that use it — your Pals do that walk, over and over.
- Overbuilding early — a base sized for your current Pal count, with no room to expand, gets torn up again the moment you recruit more.
Prototype it here first
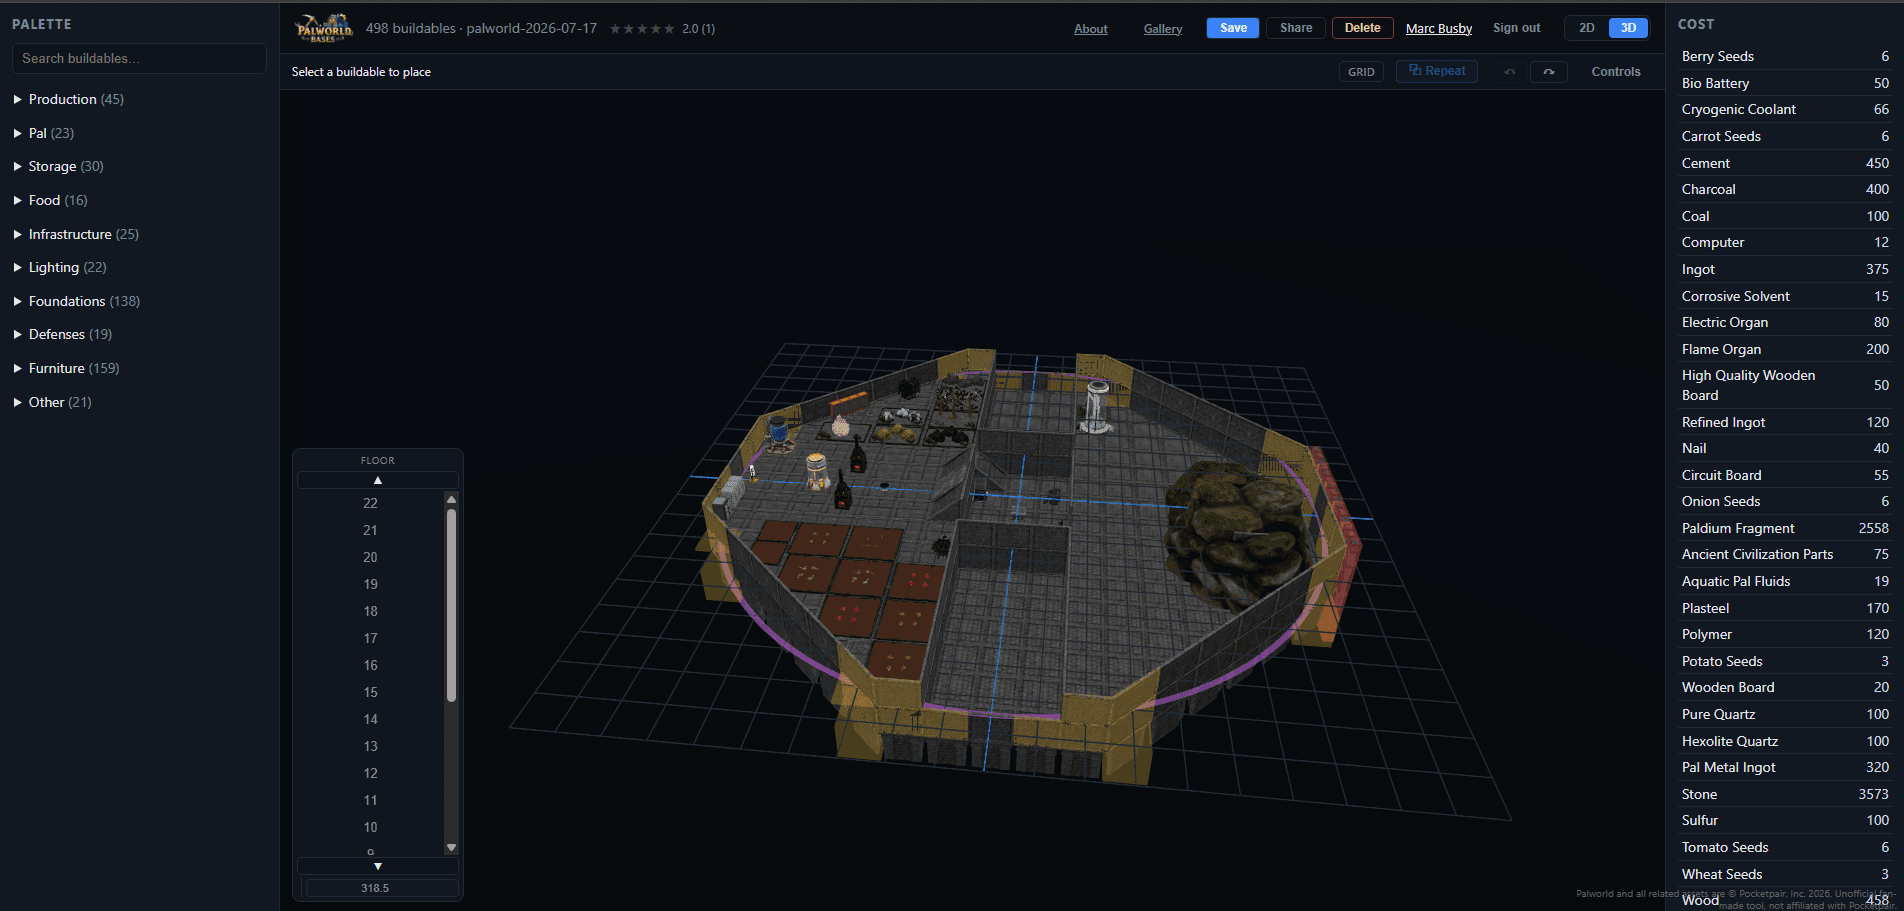
All of the above is a lot easier to get right if you can see the whole layout before you spend a single Ingot on it. That's the actual point of this planner — lay out foundations, walls, and stations, check the material cost and the Palbox range, and only then build it for real.